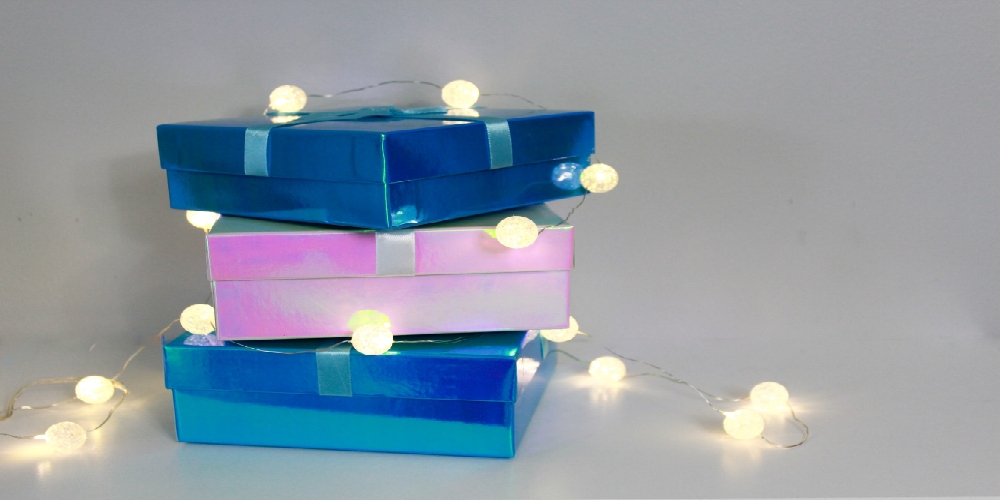
Undoubtedly, there are many reputable suppliers that offer good gift boxes wholesale deals. However, the focus today is on how to get your DIY cap on and make an appealing gift box. If you’ve always had gift box ideas, now is the best time to bring them all out and get to work.
In the end, you’ll be better off with a custom-made gift box than always relying on a general design or what’s available at the store. Without further ado, let’s get started with making those gift boxes!
Step 1: Getting the supplies
You wouldn’t want to be stranded halfway through the project, only go discover you’re missing an item. First things first, you have to make a list of all the things you think you’ll need. Making a list will help you know which items you’ve bought and which are not available.
Since the whole idea is to save the money on purchasing gift boxes, keep the production as high as possible by buying supplies from gift boxes wholesale dealers. You’ll end up with a better deal and get to save money. You’ll also get a wider range of options on each of the materials. To help make the list, use this list as a guide and checklist.
- Covering paper
- Board
- Lining paper
- Glue
- Measuring tape or ruler
- Masking tape
- Utility knife
- Pen or pencil
- Other design embellishments
Step 2: Make measurements
This is where you bring out your measuring tape or ruler. The gift box dimensions depend largely on the items it would cover. For instance, if you’re sending a packaged gift item, you’ll need to measure the dimensions of the package item to determine the size of the gift box. It’s important you give extra length allowance to allow the gift item to sit comfortably in the gift box.
Step 3: Mark and cut the board
Mark the dimensions on the board. You should have rectangular or square markings on the paper. Confirm the measurements one last time and make the cut. You should have two large rectangular or square cuts. These would serve as the front and back of the gift box.
In all, you should have 3 sets of different rectangle boards. Front and back, left and right, and then the top and bottom. With this, proceed to the next step.
Step 4: Tape the sides together
You can do this alone or have someone assist you. Tape each side to its adjoining side. For instance, the front should be held together to the side board with a masking tape. Do this for all sides until you have a box standing unaided.
Step 5: Wrap the box and decorate
With the box in place, use your chosen covering paper to cover the box. Ensure no part is exposed. When you’re done, you can add extra designs and embellishments to decorate the box.
Conclusion
With these five steps, you have an excellent guide on how to make your own gift boxes. Remember, the key is to be creative and have fun with the project. Invite friends over to pitch in and make a day or two out of it. Also, ensure you get the best gift box supplies wholesale deals from a reputable supplier.


